
Pinwheels!

How about infusing your winter weekend with a shot of
color & movement? Small hands can help in the process,
but an adult will be needed for a few steps. While there are
many tutorials out there, this is one method I like because it
results in a sturdier pinwheel holding up to a variety of uses.
many tutorials out there, this is one method I like because it
results in a sturdier pinwheel holding up to a variety of uses.

Pull out those fabric scraps. You want pieces that will give you
about a 4" square, give or take. Craft felt, wool, etc. are optional.
You'll also need Pellon's double-sided fusible webbing.
(Paper pinwheels are great too, so grab those home dec.
magazines from the recycle bin!)

Make a cardboard template that measures 4" square.
(A good use for that empty cereal or tissue box.)
On the back side of your selected fabric,
craft felt (or second piece of fabric,) and paper side of the Pellon,
lightly trace your 4" cardboard template.
Using scissors, nicely cut just inside the pencil lines.

This next step is for the crafty adult: ironing.
Lay out your craft felt, fabric and Pellon.
In the above photo: turn the fabric wrong side up,
then lay the Pellon glue side down.
With the iron on steam, press according to Pellon directions.

I let it cool for a minute before peeling off the paper.

Lay the fabric-Pellon square glue side down on top of the craft felt.
Fuse. Please do not put the hot iron directly on the craft felt.
Sticky, smelly, awful mess.


Clean up the edges with your fabric scissors, then with a
straight edge, lightly draw an "X" on one side of the pinwheel.
Cut directly on each line, stopping each time
about 1/2" from the center.

Look at one "triangle" of your pinwheel and choose either
the left or right corner. Always pull that same corner of
each "triangle" into the center.
Thread a needle with matching thread and tie a knot at the end.
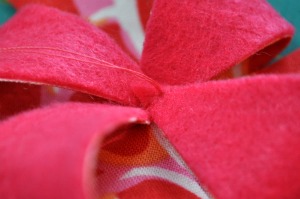
Now, pull one corner into the center of the pinwheel, then
pull the opposite "triangle's" corner into the center.
Push your needle down through all layers.
Run the needle back up (above photo,) then back down again.
Repeat for the remaining two corners. This will secure the delicate
fabric tips while sewing on the button. Once the button is sewn on,
your pinwheel will be nice and sturdy.

Button hunting! Audition several options.

Ta-da!

Oh, the possibilities. How about topping a sweet gift?

Or, add a pin back and spruce up a diaper bag,
gift bag, or a sweet girl's purse.
How about attaching to festive napkin rings?
Share your pinwheels on Flickr. I'd love to see them!
Please send me any questions about the above directions.
So colorful! i'd never have thought of adding them to a gift - but perfect idea!
ReplyDeleteThose are so cute and cheerful!
ReplyDelete